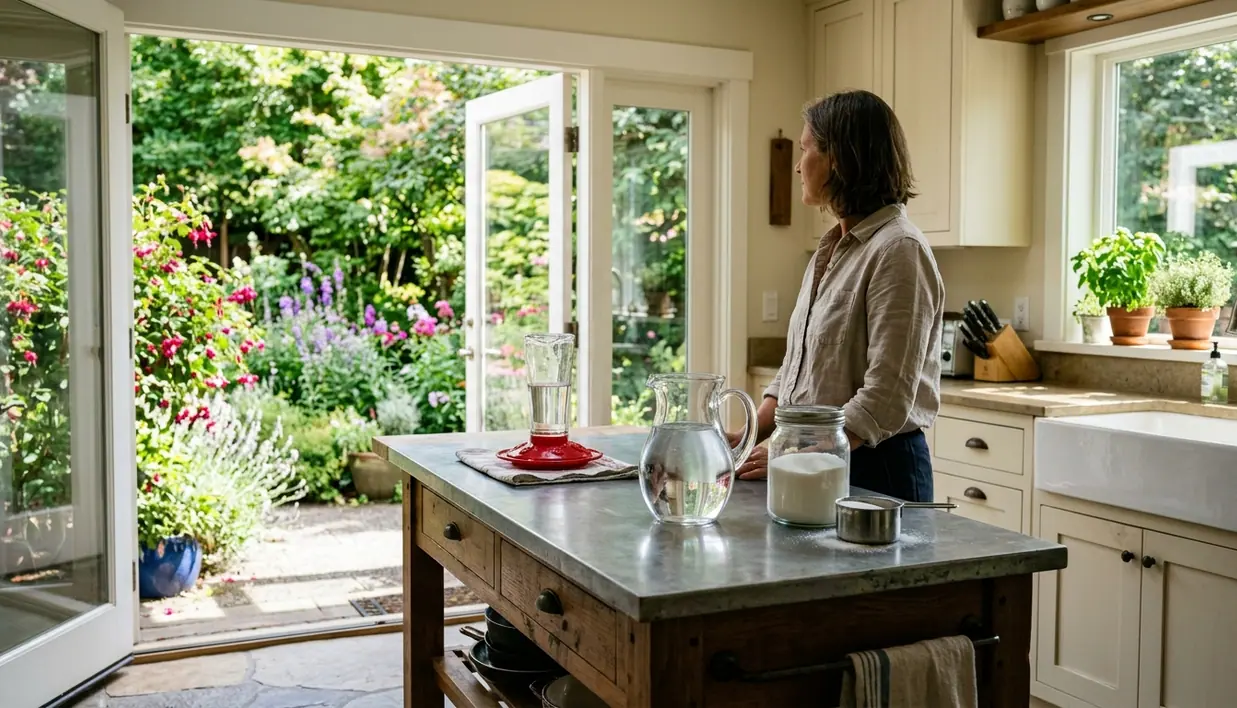
Plain white granulated sugar dissolved in drinking water makes safe, dependable hummingbird nectar without a single drop of dye or commercial additive. The standard recipe relies on 1 part plain white granulated sugar to 4 parts water, measured by volume. Mixing the liquid is only half the job, though. Responsible backyard bird feeding treats preparation and feeder care as a single continuous routine: measure the ingredients, dissolve the sugar completely, cool the liquid, fill a freshly scrubbed feeder, refrigerate any untouched leftovers, and replace the outdoor supply before heat or microbes spoil it. Even when the sugar water in the bottle looks crystal clear, hidden residue can linger in the feeder's ports, seams, and reservoir, so regular hands-on maintenance matters as much as the recipe.
Set Out White Sugar, Water, and Clean Equipment
Before measuring a single spoonful of sugar, gather everything on the counter so the process moves smoothly from sink to refrigerator. A complete setup requires only basic kitchen items:
- Plain white granulated sugar: Provides pure sucrose that closely mimics natural flower nectar.
- Drinking water: Clean tap or filtered water for dissolving the sugar.
- A measuring cup: Used to keep the volume ratio exact.
- A clean mixing vessel and spoon: Glass pitchers or large measuring bowls work well for stirring.
- A clean nectar feeder: Fully washed, rinsed, and inspected before any fresh batch is mixed.
- A covered refrigerator container: Ready to hold any unused portion of the fresh batch.
Stick strictly to plain white granulated sugar. Honey, syrups, powdered sugar, artificial sweeteners, and raw or brown sugars belong back in the pantry; white granulated sugar supplies clean sucrose without the extra ingredients, anti-caking starches, molasses, or unsuitable composition of those alternatives. Liquid dye is equally unnecessary. Red feeder components—such as the base, ports, or decorative flowers—already provide a strong visual cue for birds visiting windows and gardens, so the nectar itself needs no red coloring.
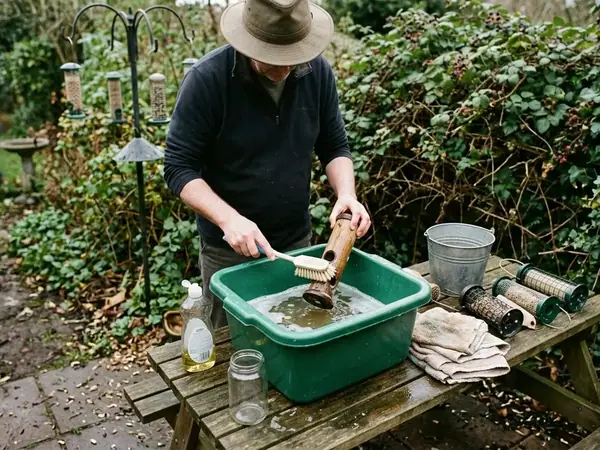
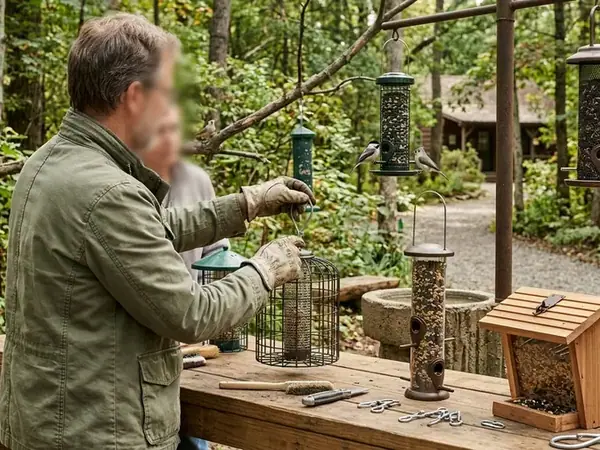
Always clean the feeder before mixing the sugar and water so fresh nectar never sits waiting while you scrub old residue out of the reservoir. Take the feeder completely apart by removing the base, bee guards, and any snap-apart basin pieces. Wash all feeder parts with hot water and dish soap, using a suitably sized narrow brush to scrub away lingering buildup inside the feeding ports and concealed seams. Rinse every piece thoroughly under running water so no trace of soap remains.
Inspect Hidden Feeder Seams
Clear-looking sugar water in the main bottle can easily conceal slick residue or dark spots inside the feeder base, feeding holes, and tight plastic seams. Always disassemble the base to inspect and scrub those hidden channels rather than judging cleanliness by the liquid alone.
Measure the Mixture Before Dissolving the Sugar
Once the feeder parts are clean and drying on the rack, choose a batch size based on what your local birds actually consume over a couple of days. The core rule is an unwavering 1-to-4 ratio by volume: 1 part white granulated sugar to 4 parts water. For a manageable household batch, combine 1 cup of water with 1/4 cup of white granulated sugar. Notice that the four-part water measurement refers strictly to the water measured before adding sugar, rather than the final combined volume inside the pitcher.
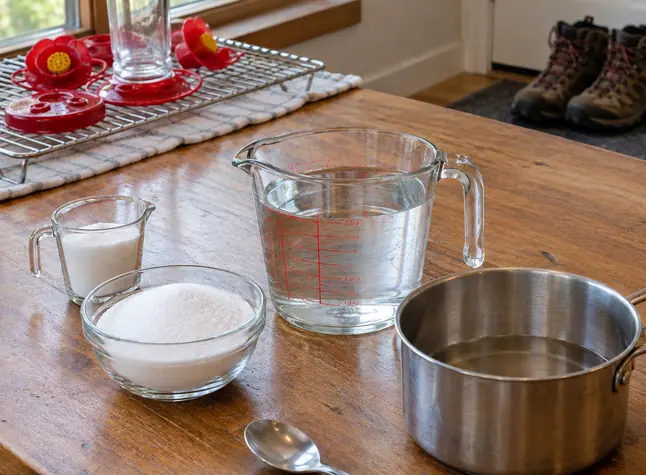
Keep this concentration steady across the seasons. Backyard birders sometimes wonder whether making a sweeter syrup will pull more hummingbirds to a quiet yard, or whether diluting the mix helps birds hydrate during a summer heatwave. In practice, altering the formula creates problems: overly concentrated mixtures can burden a bird's digestion, while weak mixtures spoil faster and offer too little energy per visit. Follow this four-step sequence every time:
- Measure the water first: Pour 1 cup of drinking water into your clean mixing vessel. Warm water from the tap or kettle helps the crystals break down quickly, whereas prolonged boiling on the stove can evaporate water and leave a more concentrated mixture than intended.
- Measure the sugar with the same tool: Scoop 1/4 cup of plain white granulated sugar so the volume relationship stays exact.
- Combine the ingredients: Dump the measured sugar directly into the water.
- Stir until completely dissolved: Briskly stir with a clean spoon until the finished mixture turns completely clear, with no visible sugar crystals resting on the bottom of the vessel.
Let the Nectar Cool Before Filling the Feeder
If you used warm water to speed up dissolving, set the mixing pitcher aside until the liquid reaches room temperature. Room temperature—rather than a fixed number of minutes on a kitchen timer—is the true filling checkpoint, because cooling speed changes depending on the batch size, initial water warmth, and whether the vessel is heavy glass or thin metal. Pouring warm liquid into an enclosed plastic or glass reservoir can warp tight seals, build internal pressure that forces nectar to drip constantly from the ports, and risk injuring a hungry bird that arrives the moment the feeder goes up.
When the mixture feels completely cool to the touch, pour it from the clean vessel into the feeder without letting the pitcher's pouring edge touch the feeder's ports, rim, or other surfaces. Keeping the pitcher lip suspended in the air prevents any lingering outdoor microbes from transferring back into your fresh supply.
A reservoir does not need to be filled to capacity. When hummingbird visits are infrequent—common during early spring arrival or mid-summer lulls when natural wildflowers peak—a shallow fill of just a few ounces prevents waste and makes the next cleaning faster. Reassemble the feeder, check that the rubber seal and ports sit flush, and wipe any spilled nectar from the exterior with a damp cloth so ants and wasps are not drawn to sticky drips. Hang the unit in an accessible spot with reliable shade to reduce direct solar heating and make daily inspection and retrieval simple.
Keep Unused Nectar Covered in the Refrigerator
Whatever remains in your mixing pitcher after filling the feeder represents a clean, untouched reserve. Transfer this leftover portion immediately into a clean, covered container and place it in the refrigerator. Grab a piece of masking tape or a washable marker and label the container with the exact preparation date—the day you mixed the sugar and water, rather than the later day you eventually pour that reserve into a feeder.
Separate Cold Storage Batches
Maintain a strict one-way boundary between the kitchen refrigerator and the backyard hanger. Untouched nectar stays in its dated, covered cold-storage container; nectar poured into an outdoor feeder must never go back into that container, and any liquid drained from an outdoor reservoir goes straight down the sink.
Use freshly prepared, refrigerated nectar within 7 days. Even inside a cold refrigerator, sugar water has a finite shelf life; if cloudiness, floating specks, mold, or an unusual odor develops before the seven-day mark, pour the batch out immediately and scrub the storage jar. Refrigeration slows microbial growth in a clean batch, yet it cannot make dirty equipment or a pre-contaminated container safe. If you find yourself throwing away expired leftovers week after week, treat those repeated leftovers as a cue to cut your next recipe in half rather than trying to stretch storage past a week.
Replace Nectar More Often as the Weather Warms
Once nectar hangs outdoors, ambient warmth, airborne yeast, and spores carried on bird bills begin breaking the sugar water down. Schedule replacement before visible spoilage appears rather than waiting for hummingbirds to drink the reservoir dry. A conservative household routine is to replace nectar and clean the feeder every 2 days in mild weather, moving to daily replacement in hot weather, especially around 90°F (32°C) or higher. Treat these replacement intervals as maximum planning gaps rather than guaranteed safe holding times, because a sun-heated reservoir or stray contamination can require an earlier refresh even while the nectar remains clear.
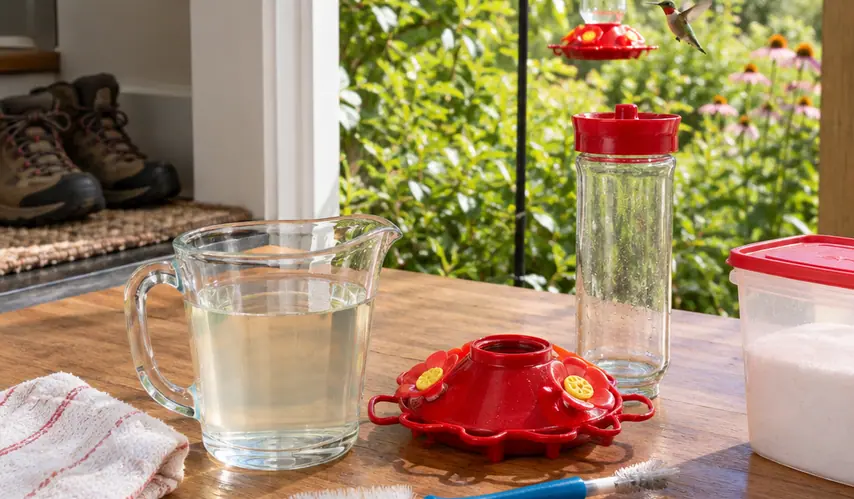
In backyard birding community notes, experienced hosts often compare how different yard microclimates affect feeder upkeep. Matching your yard's conditions to a specific maintenance action keeps the routine straightforward:
- High heat and direct sun: Move to earlier, daily replacement and relocate the hanger into deeper shade if afternoon rays hit the bottle.
- Slow consumption and few visits: Pour smaller fills into the reservoir so you are discarding only a few tablespoons at each scheduled wash.
- Visible contamination or odor: Take the feeder down for immediate removal, disposal, and deep scrubbing, even if you just filled it that morning.
At every refresh, resist the shortcut of topping up old nectar with fresh mixture. Pouring clean sugar water over yesterday's warm supply leaves the old liquid, biofilm residue, and growing microbes right where they are, rapidly spoiling the new addition. Instead, empty the reservoir completely, take the base apart, scrub and rinse every piece, and inspect the ports before adding fresh liquid. Even a well-shaded outdoor feeder needs this complete cycle; refrigerated leftovers and outdoor reservoirs exist in very different microbial conditions. Watch for the four classic warning signs during your daily walk-by: cloudiness in the liquid, floating debris, black or dark mold rings around the ports, or a sour or fermented odor when you unscrew the base.
Make the Next Refill a Small, Fresh Batch
To see how these habits fit together without wasted sugar or marathon scrubbing sessions, consider a common mid-summer scenario. A backyard feeder hangs near a patio edge that catches the late-afternoon sun, and you've noticed just one or two ruby-throated or Anna's hummingbirds stopping by between long foraging trips to neighborhood flower beds. Because visits are sparse and temperatures are climbing, filling a large reservoir would only brew warm, cloudy syrup.
Instead of altering the recipe ratio, scale the batch volume down to match the quiet afternoon traffic. Bring the feeder inside, empty the warm remainder into the sink, and pop the base apart to scrub the ports and seams with hot soapy water and a narrow bottle brush. While the rinsed pieces air-dry on the rack, measure 1/2 cup of drinking water into a small glass jar, add 2 tablespoons of plain white granulated sugar—preserving the exact 1-to-4 ratio—and stir until every crystal vanishes. Once the clear liquid cools to room temperature, pour half of that small batch into the clean feeder, giving the birds plenty of depth to reach with their tongues while leaving the upper reservoir empty.
You snap the red base securely onto the glass reservoir, wipe a single stray drop from the rim, and press a strip of dated tape onto the lid of the jar holding the untouched remainder before sliding it onto the top refrigerator shelf. Stepping out onto the porch, you hook the freshly filled feeder onto its shaded branch within easy arm's reach and set a phone reminder for tomorrow morning's check.