Defining True Weather Resistance at the Seed Level
The feeder assessments began with the condition of the seed, bypassing the reassuring wording printed on the packaging. A season of heavy rain and humid weather repeatedly produced clumped and soggy seed inside models labeled as weather-resistant. True weather resistance requires a feeder to perform three distinct functions simultaneously. The seed compartment must shed incoming rain, drain any water that manages to enter, and release trapped humidity before the enclosed seed remains damp.
Backyard inspections through repeated periods of rain, humid air, and routine refilling establish a clear baseline for performance. These hands-on observations took place outside any formal water-ingress testing or product certification. A feeder earned its weather-resistant status only when all three moisture-control functions succeeded in a real suburban yard.
Checks occurred once shortly after rainfall and again a few hours later. Retained humidity often produces wall condensation or clumping that remains completely invisible during the actual shower.
The Structural Details That Dictate Water Flow
Water follows gravity and airflow, making the physical architecture of the feeder the primary defense against ruined seed. Examining an empty feeder from the bottom upward reveals exactly where moisture will travel.
The true low points of the seed tray dictate drainage success. A drain opening positioned above a molded tray ridge leaves a thin pool of water sitting directly below the seed mass. The most reliable test involves placing a small amount of water in each corner of the tray. That water must reach an opening and exit the feeder without the unit being tipped or shaken.

Ventilation openings play an equally critical role. Humid air and residual moisture need an escape route. A nearly sealed chamber holds dampness long after the rain stops, turning the seed compartment into a greenhouse. Airflow paths must allow this humidity to vent.
Roof overhang requires careful measurement. Sighting vertically past the feeding ports and tray edges shows the true coverage area. A roof covering the central hopper often leaves the port face entirely exposed to slanting rain. The covered-but-not-dry boundary becomes obvious here. A wide roof over the center provides zero protection when wind-driven rain approaches from the side and enters the feeding ports directly.
Tracing the Hidden Paths of Wind and Condensation
Moisture leaves a trail. Tracing it backward from its strongest evidence helps identify the exact point of failure. This wettest-seed-backtrack method starts at the clump, pasted hull, or tray puddle and moves toward the nearest port, lid seam, or depression lacking a downhill drain.
Seed found wettest beside a port points toward wind-driven entry. A narrow damp line running below the lid suggests edge tracking, where droplets cling to the plastic and slide down the interior wall. Water concentrated heavily in one tray corner prompts an immediate level check and an inspection for a blocked or elevated drain hole.
Visible leakage differs entirely from humidity problems. Direct leakage appears first, usually visible during the immediate post-rain inspection. Condensation, adhering hulls, and soft clumps develop slowly. Those secondary failures become obvious during a second inspection several hours later, long after the exterior stops dripping.
A moisture path observed in one position may disappear or shift after the feeder is moved. Rooflines, nearby walls, prevailing wind, and even a slight hanging tilt change which seam or port receives rain, meaning a feeder that stays dry in one tree might flood in another.
Spotting the First Signs of Moisture Damage
Evaluating seed requires inspecting the hidden layers. The visible top layer often dries quickly in the sun, masking the damage below. Lifting a small amount of seed from the center and lower corners exposes the areas where swollen kernels, stuck hulls, and darkened patches tend to remain concealed.
Warning signs include seed that holds together when gently lifted. Softened kernels and hulls pasted to the plastic wall indicate prolonged moisture exposure. Interior droplets, dark damp patches, and visible root tips or shoots confirm that the seed has begun to compost inside the chamber.
Odor is one of the quickest clues available. Checking the smell immediately after opening the chamber catches a faint musty or sour scent before the outdoor air disperses it. A sour odor warrants immediate attention, regardless of how dry the top layer appears.
Never Conceal Damp Layers
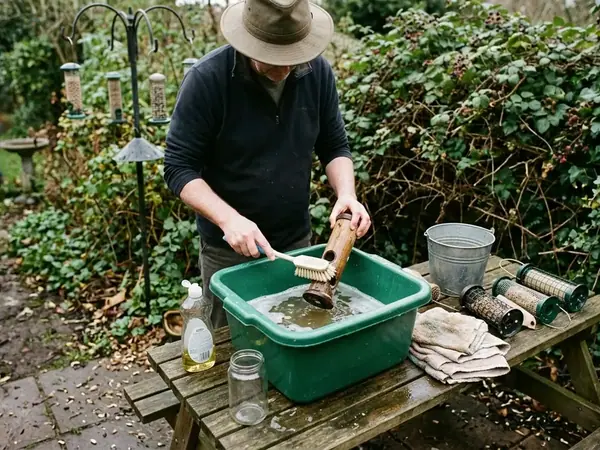
Remove questionable seed entirely rather than covering it with a fresh refill. Topping up a feeder conceals the damp, rotting material at the bottom. Clean the feeder according to the material's specific care requirements, open all accessible sections, and wait until every seam, corner, and cavity is completely dry before adding new seed.
Inspecting the Architecture Before Adding Seed
Organizing a pre-installation inspection around a hypothetical raindrop prevents most moisture problems. Starting beneath the tray, follow the route through the lowest depressions and drain openings. Move upward around the chamber seams and finish at the lid.
View the roof from the side at port height to confirm it projects beyond every exposed feeding opening. Open all removable parts to determine whether the surfaces that collect hulls can actually be reached, washed, and dried. A feeder with inaccessible lower cavities will eventually harbor mold.
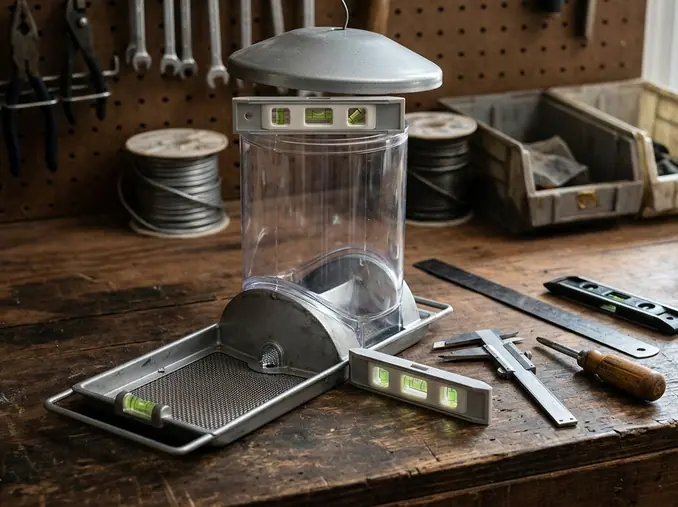
Place the empty feeder on a level surface or hold it in its intended hanging position. Confirm that each drain occupies a genuine low point, avoiding placement behind a raised rim. Look for airflow paths that allow ventilation while blocking wind-driven rain.
After mounting the feeder outside, check the level in two directions. Verify the alignment across the front and from front to back. A slight tilt pools water in one corner while leaving the intended drain sitting uphill, rendering the drainage holes useless.
A Five-Minute Post-Storm Assessment Routine
Waiting until the rain passes allows for a quick five-minute inspection sequence. Spend the first minute looking under the roof edges and along the lid seams for tracking droplets. Give the next two minutes to opening the chamber, checking beneath the seed mass, and inspecting the tray corners.
Dedicate the fourth minute to clearing blocked hulls from the drain openings and confirming the feeder still hangs level. Use the final minute to record the wettest location and decide whether the feeder requires repair or replacement.
Clear plastic and reflected glare easily hide small amounts of water. Press a clean, dry paper towel against suspicious interior corners or beneath the seed for about ten seconds. A translucent patch on the towel reveals moisture that the eye misses.
Refill the chamber only after removing compromised seed and verifying that the tray, seams, and drain openings are clean and fully dry. Reposition or replace a feeder when the exact same corner or seam retains water after repeated rains.
When you run a dry paper towel along the bottom seam of your most reliable feeder tomorrow morning, what hidden moisture will you find?