For five mornings, the feeder behaved like a dependable breakfast stop. Finches arrived during the same observation window, seed disappeared between checks, and the homeowner refilled only as needed. Then the pattern broke.
The useful part of this case begins with what happened next. Rather than covering the older seed with a fresh scoop, the homeowner marked the seed level, watched the perches, and took the feeder down. That decision exposed a drainage problem hidden beneath a dry-looking surface.
What's Inside
- The change from regular visits to empty perches
- The clues found during inspection
- How moisture became trapped
- The complete cleaning sequence
- Drainage, placement, and smaller refills
- What the observation log established
- The check to repeat after rain
How a Dependable Finch Stop Became an Empty Feeder
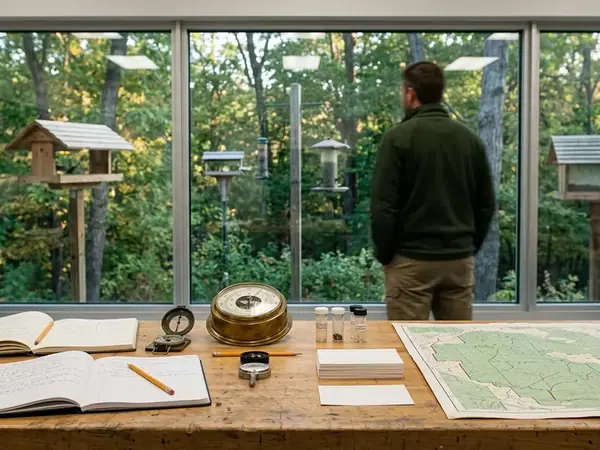
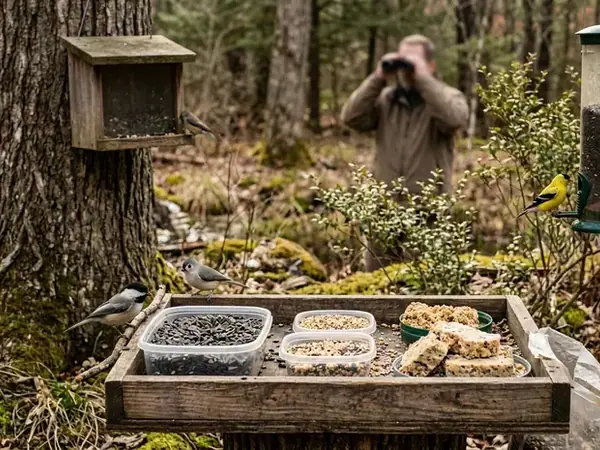
The baseline was simple and consistent. On five mornings, the homeowner watched from 07:30 to 07:45. Finches used the feeder during those checks, and the seed level fell between refills. That repeated window mattered because it gave the later absence something concrete to be compared against.
On the first morning of the decline, no finches landed during the usual 15-minute breakfast observation. The seed line also remained aligned with a pencil mark placed on the chamber a day earlier. Seed that had previously moved was now sitting untouched.
Either observation could have several explanations. Finch activity can shift with weather, disturbance, natural food, predators, or changes elsewhere in a bird-friendly habitat. An empty perch cannot identify contaminated food or illness by itself.
Together, however, the unchanged seed line and the break from five mornings of regular use justified an inspection. The homeowner resisted the familiar urge to top off the feeder. Adding fresh seed would have hidden the older layer and delayed a look at the chamber floor, where moisture tends to collect.
Absence Prompts Inspection
An empty perch is a reason to check food condition, drainage, and feeder cleanliness together. It is not a contamination diagnosis.
Empty Perches, Clumped Seed, and the First Inspection
The inspection proceeded from the visible parts toward the concealed ones. Perches and feeding ports came first. Then the homeowner opened the chamber and compared the upper seed with the material at the bottom.
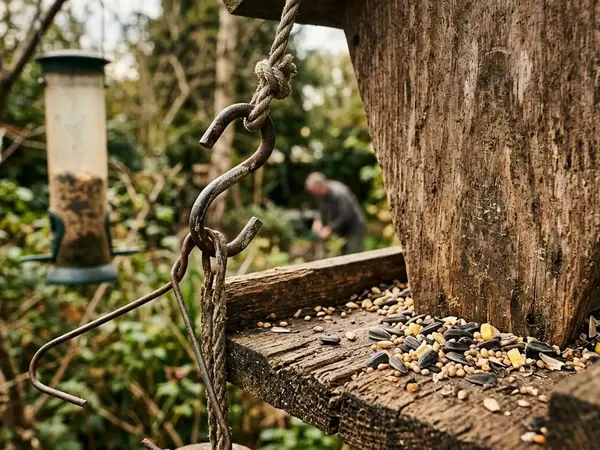
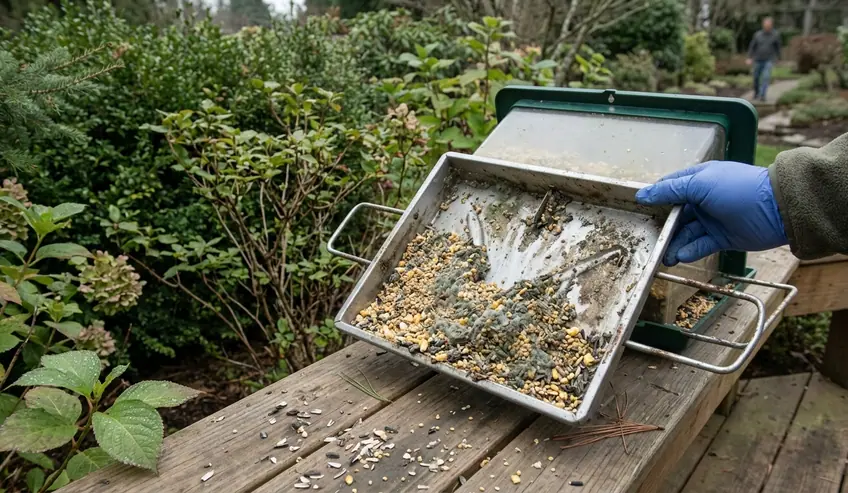
The contrast was sharp. Loose seed at the top flowed normally and appeared dry. Seed removed from the bottom quarter came out in damp clumps. Two compacted pieces held their shape when lifted. Brown residue lined one corner of the tray, and a stale odor became apparent only after the chamber was opened.
The case notes also included photographs of gray-white growth on the underside of two fused clumps. That documented growth supports calling those particular clumps moldy. The remaining material is more accurately described by what was observed: damp, swollen, clumped, or spoiled.
This distinction keeps the diagnosis honest. Appearance cannot identify the microorganism present, and odor cannot establish its species. What the inspection did establish was enough for a practical safety decision: some seed had remained wet, deterioration was visible, and the entire batch needed removal.
Why the Bottom Layer Matters
Finches handle loose, accessible seed more readily than a fused mass stuck against the tray. Damp seed can also become difficult or undesirable to eat before growth becomes visible. A quick glance through the upper chamber would have missed the affected layer completely.
The feeder had stood through one night of wind-driven rain and the following damp morning. That timing did not prove rain was the sole cause, but it gave the homeowner a clear path to examine next.
Following the Moisture to the Feeder's Lowest Drain
With the seed removed, the investigation shifted from food condition to water movement. The homeowner checked the seed chamber, tray corners, wall seams, feeding ports, roof overlap, and finally every drainage opening from both sides.
A small amount of clean water poured into the empty chamber reached the tray, then lingered at one low point. Swollen seed hulls and paste-like residue covered a drainage opening. The blockage was invisible from above until the tray was detached and the compacted material was pushed away from its underside.
That observation revealed the mechanism step by step:
- Wind-driven rain entered the feeder or reached seed near the tray.
- The lowest seed absorbed water, swelled, and began to stick together.
- Hulls and softened residue collected around the drainage opening.
- The narrowed outlet retained more moisture against the remaining seed.
- Surfaces stayed damp long enough for the seed to deteriorate.
The strongest evidence concerned moisture and drainage. Damp clumps were directly observed. The blocked opening was uncovered and tested. What the residue actually contained was never identified.
This roof-dry, drain-wet inversion is easy to miss during routine backyard bird feeding. The upper seed can remain loose while the bottom layer forms a wet plug. Looking through a clear chamber therefore answers only one question: what is happening at the visible surface?
Taking the Feeder Down and Removing Every Wet Layer
Once damp clumps, residue, and visible growth were found, feeding stopped immediately. The corrective work followed a deliberate order so cleaned surfaces would not be exposed again to compromised seed.
- Remove the feeder from service. This prevents birds from reaching the remaining food while the condition is assessed.
- Discard all seed in the chamber and tray. Picking out two visible clumps would leave behind loose seed that had shared the same damp compartment.
- Collect wet material below the feeder. The homeowner raked up visibly wet seed beneath the feeding station and discarded it with the feeder contents.
- Separate removable components. Detaching the tray exposed the underside of the blocked drain and opened seams that could not be reached after assembly.
- Clear every drainage opening. Compacted hulls and paste-like residue were removed from both sides rather than pushed deeper into the channel.
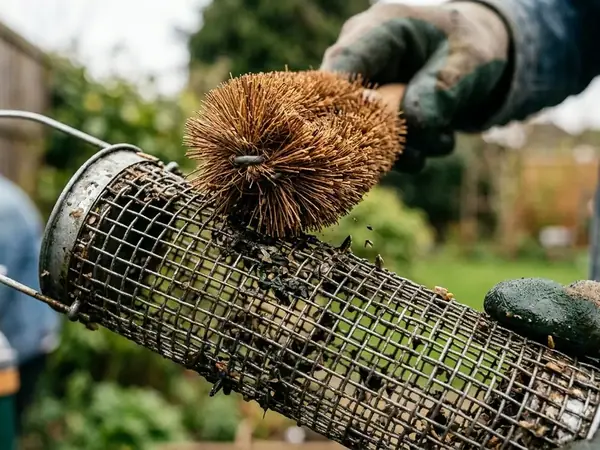
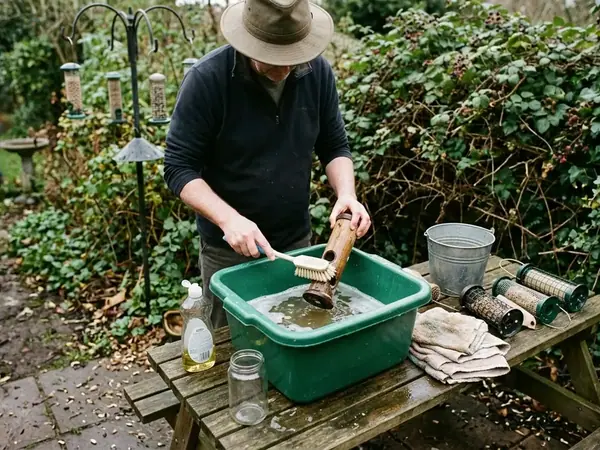
- Scrub reachable surfaces. A dedicated brush and tray kept feeder-cleaning equipment separate from household food preparation items.
- Follow the manufacturer's cleaning directions. The homeowner used the feeder's own instructions instead of improvising a disinfectant strength or soak time.
- Rinse and air-dry the parts separately. Reassembly waited until tray corners, port rims, seams, screw recesses, and the drainage channel were dry.
- Wash hands after handling the feeder. This closed the cleaning task without carrying residue to other surfaces.
Cleaning finished late in the morning. The disassembled feeder remained indoors for roughly 19 hours before its parts were inspected and put back together. No seed entered the chamber while moisture remained in a recess or channel.
Remove The Whole Batch
A fresh top layer cannot correct wet seed underneath. Complete removal gives the chamber, tray, and drains a real chance to dry.
Drying time deserves as much attention as scrubbing. Immediate refilling can return moisture to seams, cover a still-wet tray corner, and recreate the same conditions beneath apparently fresh seed.
Rebuilding the Setup Around Open Drains and Smaller Refills
The cleaned feeder returned to a spot that was still easy to watch from the window, but it sat farther beneath the roof overhang. The adjustment reduced exposure to wind-driven rain while preserving a clear approach for birds and an easy sightline for daily checks.
Inside the feeder, drainage became an open pathway rather than a feature buried beneath a tightly packed charge. Seed was allowed to rest naturally, with the lowest outlet kept clear and accessible for inspection.
Refill for Actual Use
The first post-cleaning charge contained about 250 milliliters of dry seed. The homeowner marked the level and checked it 24 hours later. Later additions followed observed use rather than the chamber's maximum capacity.
That smaller-refill approach shortens the time seed sits through changing conditions. It also makes subtle changes easier to spot. If the marked level does not move, the homeowner can inspect the existing food instead of automatically adding more.
- Store seed indoors in a closed container.
- Empty the feeder before introducing seed from a later batch.
- Keep drainage openings free of tightly packed seed and hulls.
- After rain, inspect the bottom through the access panel.
- Refill only after the tray and drainage channel are dry.
Placement still involves trade-offs. Deeper cover can limit rain exposure, while visibility helps the homeowner notice residue, stalled consumption, and changes in bird behavior. Here, a modest shift beneath the overhang addressed the documented rain path without moving the feeding station out of view.
What Changed After Cleaning, Measured One Morning at a Time
The first post-cleaning entry described the feeder before it described the birds. Seed remained loose. Drainage openings were exposed. Tray corners were dry. Only then did the homeowner record finch activity during the established 07:30 to 07:45 observation window.
Two mornings after cleaning, the log recorded three finch landing events. Five mornings after cleaning, it recorded six during the same 15-minute interval. The pre-cleaning decline check had recorded zero after overnight rain.
Those counts represent landings rather than confirmed individual birds. A returning finch could not always be distinguished reliably from a new arrival. This single-household case also cannot assign every missed visit to damp seed or establish mold as the sole cause of the decline.
The Case Log
Feeder condition and finch activity recorded around the cleaning| Observation point | Recent weather | Seed and feeder condition | Observation duration | Finch activity |
|---|---|---|---|---|
| Pre-cleaning decline | After overnight rain | Seed level unchanged for 24 hours; damp bottom clumps found during inspection | 07:30–07:45 | Zero landing events |
| First condition entry after cleaning | Not recorded in the case notes | Loose seed, exposed drains, and dry tray corners | Not recorded in the case notes | Not recorded in the case notes |
| Two mornings after cleaning | Not recorded in the supplied notes | Post-cleaning feeder in service | 07:30–07:45 | Three landing events |
| Five mornings after cleaning | Not recorded in the supplied notes | Post-cleaning feeder in service | 07:30–07:45 | Six landing events |
The sequence supports the practical action taken: remove compromised material, restore drainage, dry the feeder, and observe again. Returning finches confirmed renewed use after hazard removal. They did not settle the question of which contaminant caused the original empty perches.
Equal observation windows made the comparison useful. Without them, a five-minute glance before cleaning and a long watch afterward could create a misleading impression of recovery. This is where simple notes become valuable: time, weather, feeder condition, and activity belong in the same entry.
The After-Rain Check That Keeps the Lowest Outlet Clear
The maintenance rule drawn from the case is brief: inspect after wet weather before adding seed. The homeowner now completes that check during the next daylight visit to the feeder.
- Open the chamber or access panel.
- Reach the lowest seed rather than judging the dry-looking surface.
- Remove any seed that feels damp or has begun to clump.
- View each drainage opening from above and below.
- Clear retained hulls and residue.
- Wait until the feeder is dry before refilling.
Check The Lowest Layer
After rain, test the seed beside the drain. The top of the chamber may tell a very different story.
A short record makes the next change easier to interpret. Each entry can hold the date, recent weather, bottom-layer condition, drainage status, cleaning action, and finch landings during the same 15-minute morning window. That baseline turns a vague sense that “the birds have gone” into an observable change worth investigating.
The decisive detail in this feeder was smaller than the empty chamber suggested: a compacted ring of swollen seed around one low drain became part of the blockage that kept the adjacent food wet.