The Best Feeder Site Is the One You Can Revise
The strongest feeder site is one a household can measure, observe and revise, even when another spot attracts more birds on day one.
A busy feeder can still sit in a poor location. Visit frequency says little about startled flights toward glass, competition at a narrow landing zone, concealed ground predators or the awkward cleaning routine that eventually gets postponed. Placement deserves a wider test.
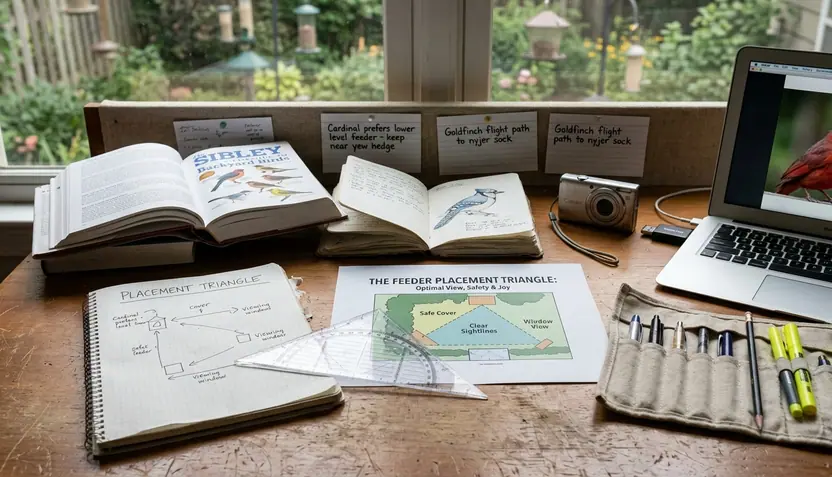
Start with three relationships: feeding-port height, horizontal distance from windows and vegetation, and spacing between feeding stations. Together, they form a practical placement triangle. A change to one side can alter the others. Moving a feeder toward a shrub may improve access to cover while shortening the route between feeding birds and concealed ground cover.
Test Before Digging
Mark a candidate location with a removable stake or weighted stand before installing a permanent pole. This keeps the feeding port movable and avoids a trail of abandoned post holes.
- Confirm that filling, cleaning and ground cleanup are comfortable from the proposed spot.
- Watch how birds approach, wait, feed and leave.
- Check for flights toward glass, crowding and activity beneath the feeder.
- Record attendance only after those safety observations.
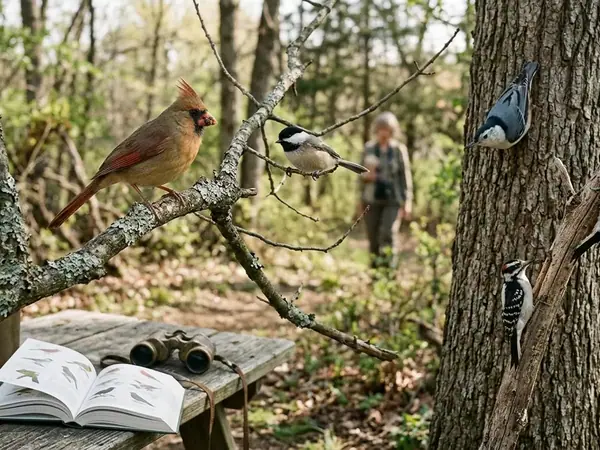
Use three comparable observation sessions lasting in the range of 12 to 20 minutes before treating first-day attendance as a useful pattern. Keep the time of day reasonably consistent. A single lively visit may reflect weather, a passing flock or freshly filled seed rather than placement quality.
Revisable Wins
A temporary site gives the household room to respond when the flight path, cleaning access or ground activity looks wrong.
Measure the Feeding Port, Cover and Nearest Feeder
Every measurement starts at the place where the bird actually feeds. Use the center of the tray, perch or feeding opening. The pole top and hanging hook do not describe the bird's position.
From that point, record five measurements:
- feeding-port height above the ground;
- port-to-glass distance;
- port-to-dense-cover distance;
- port-to-open-landing distance; and
- port-to-nearest-feeder distance.
Record each measurement to the nearest 5 centimeters or 2 inches. Construction-grade precision adds little here. Consistent reference points matter more.
Sketch the Whole Route
A tape measure captures distance. A yard sketch captures use.
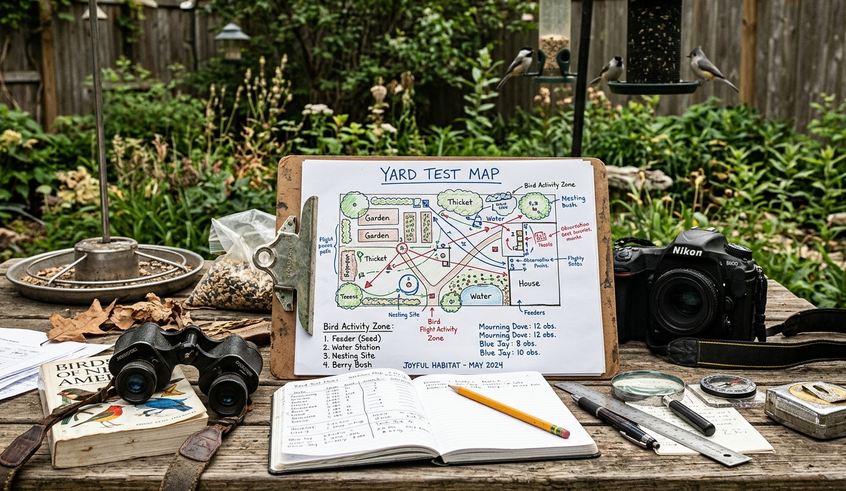
Mark doors, fences, cleaning access, regular foot traffic and the route used to carry seed. Add railings, branches and places where a cat or another ground predator could remain concealed. Then draw the likely arrival and departure lines around the feeding port.
Collect a baseline during four to six sessions of approximately 15 minutes each, preferably within the same 90-minute part of the day. Repeat the schedule after changing one placement variable. During each session, note approaches, departures, waiting birds, chases and any movement toward glass.
This log reveals recurring conditions within one property; seasonal foliage, migration, snow cover, species mix and neighboring predator activity can shift the pattern. Keep the sketch dated so notes from other birders can later be compared with the yard that actually existed at the time.
Height Changes Access, Visibility and Escape Routes
Feeder height affects two users at once: birds and caretakers.
A higher feeding port may improve sightlines and separate birds from routine ground activity. A lower position can make feeder care and safety checks easier because trays and ports remain within comfortable reach. The useful height balances both routes rather than favoring a tidy view from indoors.
Trace the Bird's Approach
Stand near the proposed feeding port and look outward. Identify open escape directions, likely staging branches and surfaces that could support a jump. Nearby branches can give birds a place to pause before feeding. The same branches may give squirrels a direct route or create a concealed launch point close to the port.
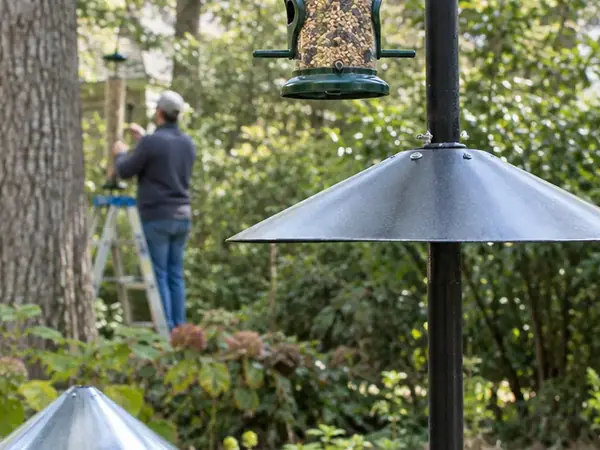
Next, inspect the pole as one part of the layout. Pole design, baffles, fences, railings and nearby structures each affect access. Raising the port leaves a jumpable railing or overhanging branch exactly where it was.
Walk the Caretaker's Route
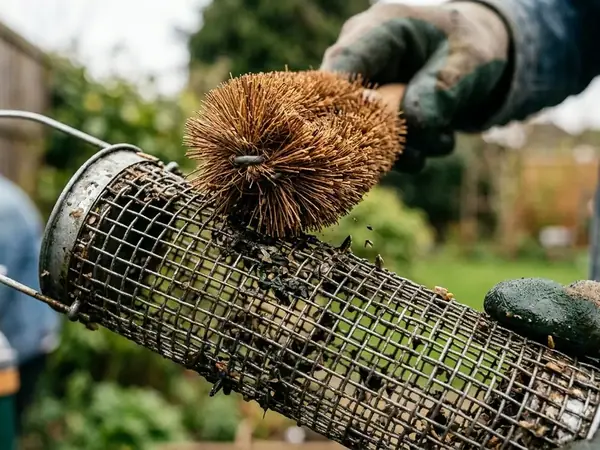
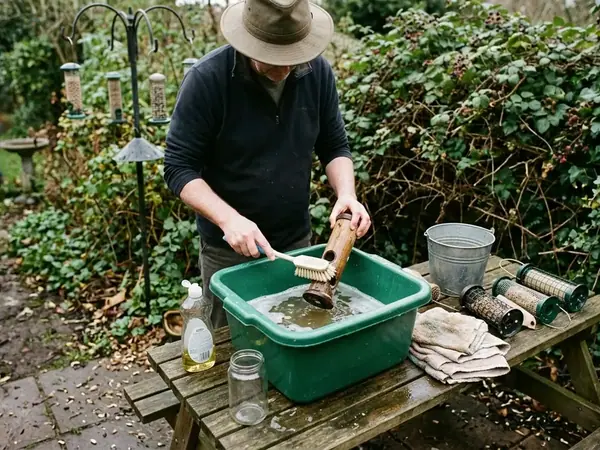
Simulate a wet-weather cleaning visit with both hands occupied. If servicing requires a stool, leaning over a railing or lifting the feeder above shoulder level, lower the servicing point or choose a pole that can be safely lowered. Difficult access tends to stretch the interval between cleanings, especially when seed hulls and damp debris need attention.
Plant growth also changes reach. Recheck branch, fence and railing clearances every couple of months during active growth. A pole that stood apart in early spring may become reachable once shoots lengthen.
Follow Both Routes
A suitable height supports clear bird movement and routine cleaning without climbing, overreaching or balancing equipment.
Window Distance and Cover Pull Safety in Opposite Directions
Distance to glass and distance to vegetation require separate decisions. Shelter, concealment and collision exposure operate through different routes.
Nearby vegetation can provide a waiting place and an escape destination. Dense growth immediately beside a low feeder may also hide a stalking predator, particularly when spilled seed draws birds onto the ground. Inspect the route from cover to feeder at bird height. Then crouch near the feeding area and check how much of the surrounding ground remains visible.
Glass introduces another hazard. Reflective panes can appear to continue the sky or surrounding foliage, while transparent sightlines through a building can resemble an open passage. Successful feeder visits cannot reveal the risk on their own because the critical event may occur during a startled departure.
Check Changing Reflections
Inspect the flight corridor from outside during two contrasting light periods, such as 15 minutes in the morning and another 15 minutes in late afternoon. Reflected foliage may become vivid as the sun shifts, even when the pane looked plain from the breakfast table.
The Klem and colleagues paper research on window configuration and feeder placement compared feeders positioned 1, 5 and 10 meters from plate glass. Those tested distances show that placement and window configuration were examined together. They do not establish a single spacing rule for every home.
Map two lines on the yard sketch: cover to feeder, then feeder to glass. A feeder can gain visits after moving closer to shrubs and still become less satisfactory if birds feed beside concealed ground cover or depart directly toward reflective glass.
Read the Glass
Judge the pane from the outdoor flight path and at more than one time of day. The indoor view misses reflections that birds encounter on approach.
Feeder Spacing Reveals Crowding Before Visit Counts Do
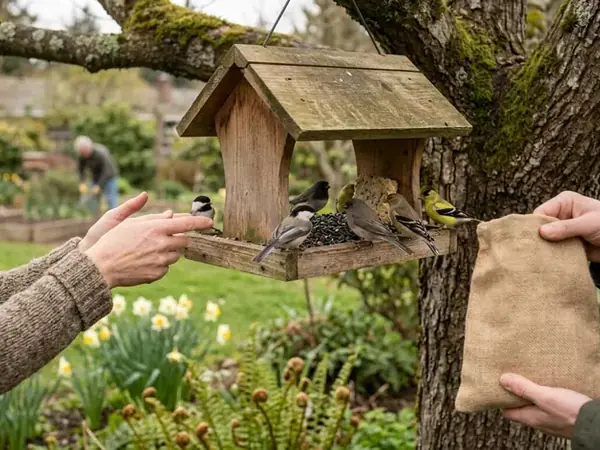
Several feeders can function as one crowded station. Shared poles, one narrow approach corridor and a single patch of landing space pull birds into the same contest even when plenty of seed ports appear available.
Behavior gives a sharper reading than raw attendance. During each 15-minute check, tally:
- chases between birds;
- forced departures from ports or perches;
- birds waiting nearby without gaining access;
- seed monopolization by one bird or species; and
- spilled seed forming one shared patch beneath separate feeders.
A busy station with repeated displacement deserves a spacing review. Watch where waiting birds gather and whether arrivals funnel through one branch or railing. That bottleneck may matter more than the measured gap between feeder bodies.
Separate Functions First
More feeders are rarely the first useful move. Separating incompatible foods or feeder styles can distribute activity with the equipment already present. A tray that encourages larger birds to linger may work better away from a smaller-port feeder used by birds that make quick visits.
Ground conditions add another signal. Inspect trays, ports and the area below each active station every 1 to 3 days in wet weather. Damp seed, compacted hulls and droppings can deteriorate faster than attendance counts suggest. If nominally separate feeders create one wet debris patch, the station still behaves as a cluster from a maintenance perspective.
Spacing also changes with the birds themselves and how they behave. The same measured layout may perform differently after leaf-out, snow cover, a switch from a tube feeder to a tray feeder, heavier patio use or the arrival of a species that dominates the ports.
Run a One-Variable Placement Test in Your Yard
Consider a pole feeder visible from a kitchen window. Its feeding port stands about 1.5 meters above the ground, 2.7 meters from the window, 0.9 meters from a shrub edge and 1.2 meters from a second feeding station. A frequently used patio route crosses the surrounding space.
That layout contains several competing pressures. The window supports easy observation. Nearby shrubs offer cover. The second station may concentrate birds, while patio traffic can trigger sudden departures.
Step 1: Build the Baseline
Take a tape measure outside and mark the feeding port plus the three nearest relevant features: glass, dense cover and the neighboring feeder. Add the patio route to the sketch because regular foot traffic may explain startled movement.
Observe the original arrangement for four 15-minute sessions between 7:00 and 8:30 a.m. Record chases, startled departures, approaches toward the window and the spread of seed on the ground. Keep ordinary filling and cleaning routines consistent during the test.
Step 2: Choose One Concern
Rank observations by consequence and repetition. Suppose birds repeatedly chase one another between the two feeding stations, while window approaches remain uncommon and ground activity stays visible from the patio. The most direct test concerns feeder spacing.
If startled flights consistently head toward reflective glass instead, port-to-glass distance becomes the first variable. Birds feeding beside concealed shrub cover would point toward the cover relationship. Choose the measurement tied most directly to the observed behavior.
Step 3: Move One Variable
Shift the selected relationship while keeping feeder height, food, observation window and other practical conditions steady. A removable stand makes this stage much easier. Avoid pruning shrubs, changing feeder style and moving both stations during the same test; those changes would blur the cause of any new pattern.
Step 4: Repeat and Compare
Run another four 15-minute sessions within the same 7:00 to 8:30 a.m. window. Compare chases, departures, glass approaches and ground-seed spread with the baseline. Attendance remains useful, but it comes after those safety and crowding measures.
A placement test earns its value through the next decision. Which single relationship in your yard will you measure first: the feeder's distance from glass, dense cover or its nearest feeding station?