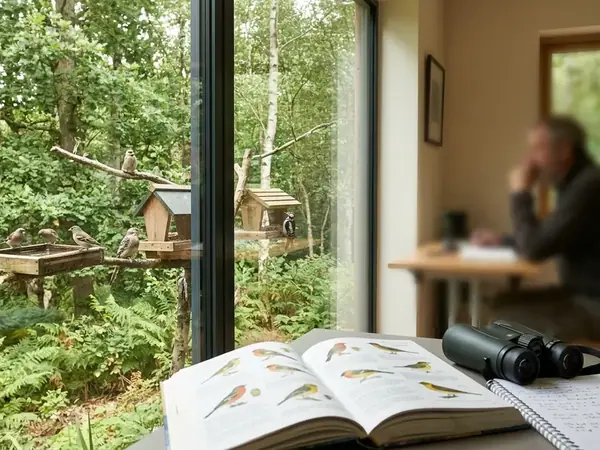
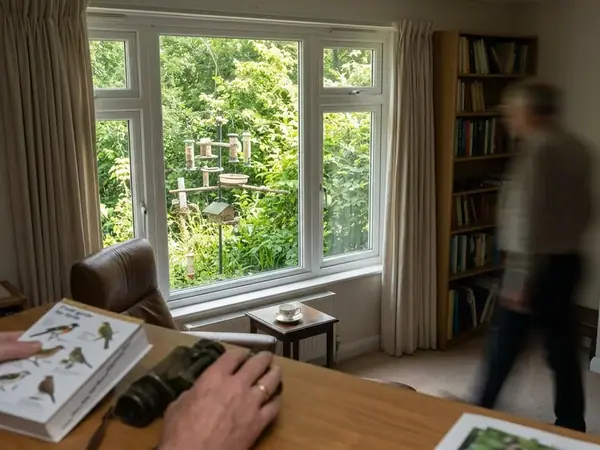
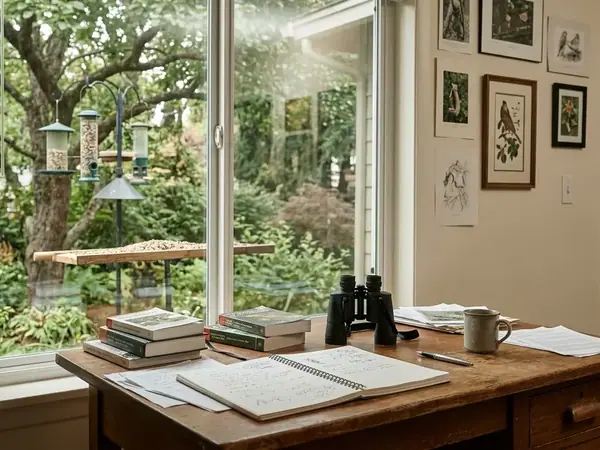
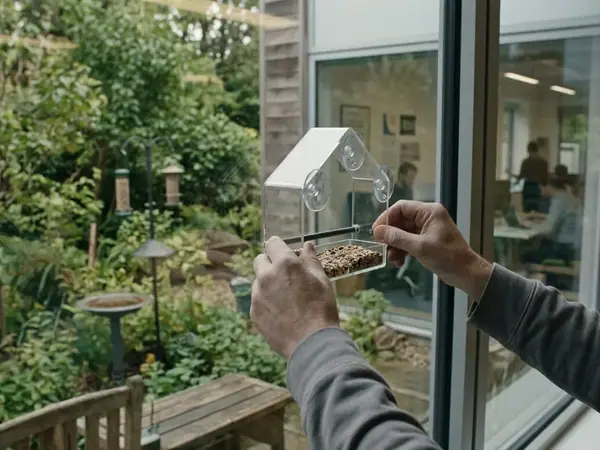
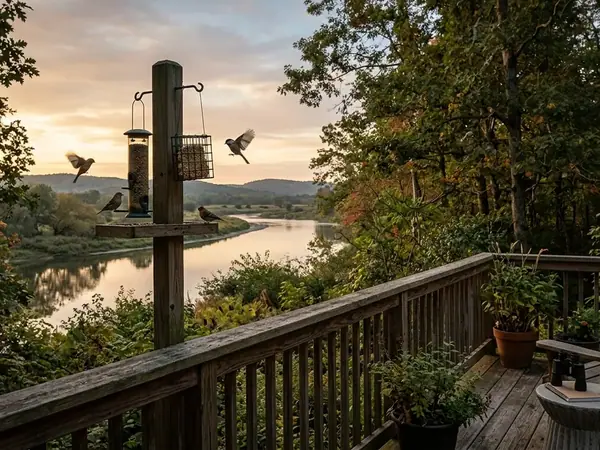
A spare-phone window-feeder camera is an indoor smartphone positioned to record birds visiting a feeder outside the glass. This arrangement gives observers a removable, renter-friendly setup for saving close views and reviewing identification and behavior details without approaching feeding birds. The phone stays indoors while the existing window feeder remains outside, capturing local video through the intervening glass rather than relying on a dedicated wildlife camera or an automatic monitoring service. Because window glass, indoor reflections, and the phone's minimum focusing distance govern the usable view, this method supports short, supervised observation sessions without guaranteeing automatic detection or continuous monitoring.
Check the Phone Before It Goes on the Windowsill
Evaluating the hardware comes before selecting a window angle. Older devices kept in drawers often develop age-related hardware faults that make them unsuitable for sustained camera operation near a windowsill.
Gather a compact set of equipment before testing the view:
- A functioning spare phone with its built-in camera app
- A stable freestanding phone stand or removable indoor clamp
- A clean microfiber lens cloth
- An undamaged, compatible charging cable (added only when session length or battery health requires it)
Inspect the phone thoroughly for battery swelling, a lifting screen, case separation, or unusual heat during basic operation. Check any charging equipment for frayed insulation or bent connectors. Exclude a damaged device from the project entirely, and consult the manufacturer's instructions for device-specific operating temperatures and charging precautions. Never place a recording phone on a hot, sunlit windowsill.
Once the hardware passes inspection, wipe the camera lens and the accessible indoor glass with the lens cloth. Open the built-in camera app and record a suggested 10–15-second test clip to verify that the camera records, the file saves properly, and playback works. Check available storage in the phone's settings at the same time. Local recording directly to the device requires no Wi-Fi; remote viewing is a separate project that demands compatible software, secure account settings, reliable power, and household privacy decisions.
Aim at the Perch Without Moving the Feeder
Camera placement works around an existing, safely maintained window feeder rather than repositioning the feeder solely to improve the video frame. Place the phone indoors on a stable stand or a removable clamp secured to a suitable indoor surface, with the rear camera facing the feeder. This basic arrangement requires no drilling, permanent adhesive, or outdoor electrical equipment.
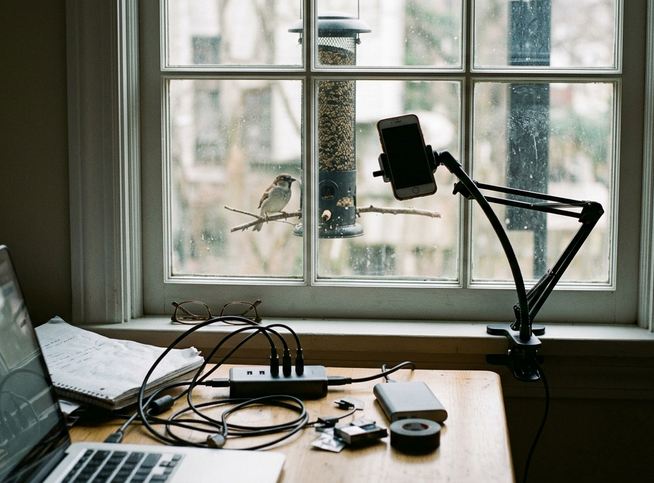
Keep the phone mount completely independent of the feeder's suction cups, since a feeder attachment is never designed to bear an indoor device's weight. Begin with the phone positioned near the glass without touching it, then make small sideways or backward adjustments while checking focus on the screen. Favor a wider view that retains a moving bird—including the perch, the feeding opening, and some approach space—over a portrait framed so tightly that the bird's head or tail repeatedly leaves the frame.
Verify the physical safety of the indoor space before recording. Check that the window can remain securely closed and that a slipping phone cannot fall into a kitchen sink, water bowl, or busy walkway. If a charging cable is attached, route it neatly without leaving an accessible hanging loop.
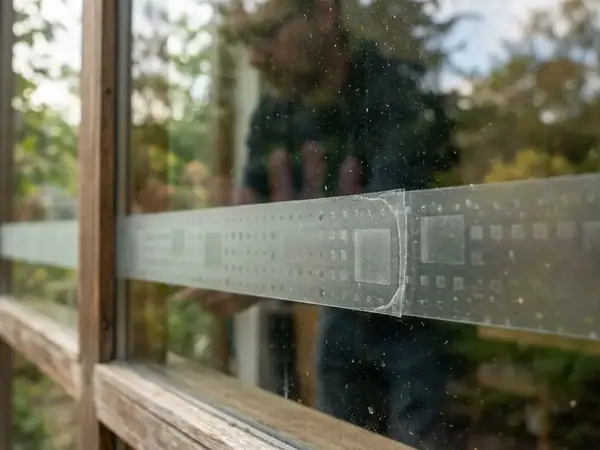
The Protected-Glass Boundary: A clearer spare-phone view never justifies removing exterior collision-prevention markings or moving the feeder solely for the shot. Keep exterior markings in place even where they cross the camera view, as an indoor camera does not make untreated glass safe for birds.
Remove Room Reflections Before Changing Camera Settings
Window glass acts as a partial mirror whenever the indoor room is brighter than the shaded perch outside. Instead of altering camera exposure settings first, use the visible reflection in a test clip to guide a symptom-test-adjustment sequence in the room.
When a lamp or furniture outline overlays the feeder perch, switch off nearby interior lights and record another short clip to compare the result. Turn off the phone's flash and avoid directing extra lighting toward the feeder. Always inspect the saved recording rather than relying solely on the live preview, whose displayed brightness can make subtle glare less obvious.
If bright shapes persist across the perch, move light-colored objects located behind the phone and adjust nearby curtains. Keep the phone visible, well-ventilated, and securely supported; never enclose the device in fabric or block airflow to trap shade. Make small changes to the lens position and angle relative to the pane, checking that each adjustment still leaves the feeder perch in focus.
When image softness remains after reflection adjustments, inspect the accessible indoor glass for fingerprints and look for an exterior insect screen or additional glazing pane in the viewing path. For persistent softness caused by multi-pane glazing, screens, or strong outdoor contrast, compare another safe indoor angle instead of disturbing the feeder, removing protective markings, or approaching the birds.
Set Focus, Record a Short Clip, and Check the File
With reflections minimized and the stand stabilized, configure the camera app using a straightforward sequence. Select ordinary video mode, begin with the main rear camera, frame the perch, tap the screen on the perch to set focus where supported, and record a short test clip.
Resolution and Focus Controls
Select a moderate recording resolution available on the device rather than its maximum setting to avoid unnecessary storage use, heat buildup, and processing demand. If the phone offers 1080p below its highest resolution tier, that setting provides a practical starting point without assuming a fixed recording duration or file size. Improve safe physical positioning and framing before adding digital zoom, which enlarges the captured image without recovering missing feather detail.
If the camera app supports focus or exposure locking, test the lock directly at the perch and compare sharpness before and after engaging it. Because camera controls vary across devices and birds shift position quickly, check footage of visitors at different spots on the tray; locking focus at one distance can fail when birds move closer to the glass or hop to the far edge of the feeder.
System Behavior and Readiness
Silence device notifications and confirm the flash remains off. Consider enabling airplane mode when network connectivity is unnecessary, then verify that the selected recording workflow still functions as expected. During a supervised test, observe what happens when the phone display dims or locks, then replay the file to establish whether video capture continued. Standard camera apps should not be assumed to provide background capture, motion detection, or scheduled recording.
Replay the saved test clip to check focus, framing, reflected light, sound, and recording continuity. Readiness for a live session comes down to five verified conditions: a stable mount, a shaded phone, a clear perch, a saved test clip, and unobstructed bird access.
Keep Recording Sessions Cool, Quiet, and Supervised
Treat a spare-phone setup as a tool for short, attended observation intervals rather than leaving an aging phone recording all day or overnight. A suggested first supervised recording session of 3–5 minutes offers a manageable observation window to evaluate both device temperature and bird response, though it represents a practical starting interval rather than a guaranteed safe operating time.
Keep the phone indoors, shaded from direct sunlight, and well away from window condensation and household water spills. Check the casing periodically during recording and stop immediately if the device becomes unusually hot or displays a temperature warning. If charging is required during a session, use an undamaged compatible charger, keep the cable clear of the window sash closure, and leave the phone uncovered so heat can dissipate into the room.
Household privacy and feeder care govern every session. Frame the view to exclude neighboring windows and private outdoor activity. Check for captured indoor conversations during test playback and disable audio recording if the camera app provides that control. Outside the glass, avoid using playback calls, tapping the pane, or repeatedly approaching the window to prompt visits. Continue ordinary feeder cleaning and bird-health checks on schedule, pausing video sessions whenever maintenance or wildlife welfare requires attention—the desire for footage must never determine whether feeding continues.
Use the Clip to Study Bills, Wing Marks, and Feeding Behavior
Recorded clips allow observers to separate fleeting movement from diagnostic field marks. Review a saved visit slowly and pause across several side-profile frames that reveal bill shape, wing markings, overall body shape, and perching posture. Even when lighting or resolution does not support a confident species name, the video sequence remains useful for studying how a visitor approaches the tray, selects food, and departs.
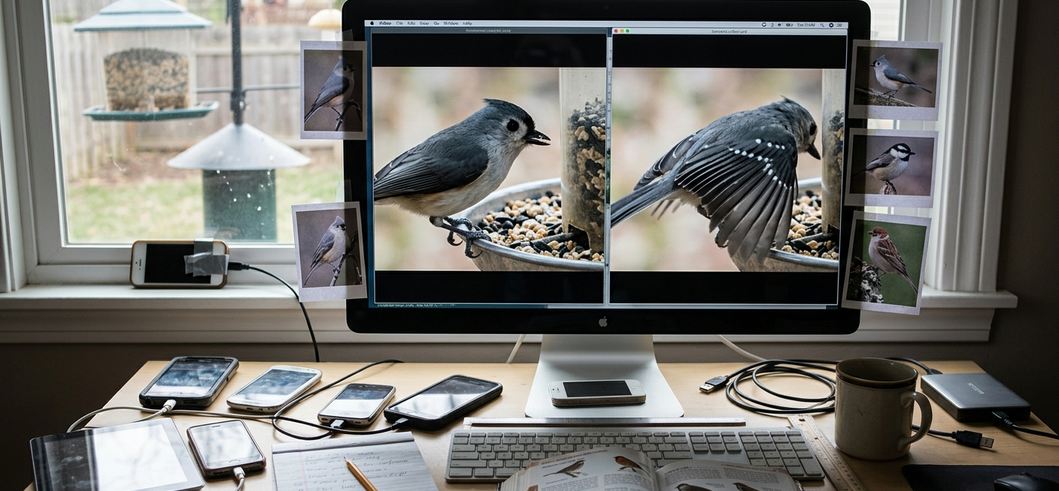
Distinguish reliable visual evidence from optical artifacts introduced by the window setup. Glass tint and automatic exposure shifts can alter apparent plumage color, while motion blur during a quick head turn can hide fine facial or wing markings. Keep uncertain identifications tentative, comparing multiple crisp frames rather than naming a bird from a single soft image.
Sharp Garden, Soft Feeder Bird: Use the saved clip to catch autofocus settling on distant trees beyond the window-feeder perch before increasing resolution or adding digital zoom.
Where reviewed clips expose a recording flaw, match the symptom in the file to one specific adjustment for the next session rather than changing every camera setting at once:
- Empty frame during a brief visit: Widen the framing around the perch and feeding opening by moving the indoor stand slightly back from the glass.
- Sharp background behind a soft bird: Repeat the tap-to-focus check directly on the feeder perch before recording.
- Smeared wing or head movement: Compare footage recorded during brighter natural daylight conditions while keeping the phone itself shaded out of direct sunlight.
Save the clearest short clip with the recording date and a brief observation note, such as "side profile; selected one seed before leaving." Delete unwanted test files and empty clips after reviewing them to recover device storage.
Try One Quiet Session at a Shaded Kitchen Window
To see how these adjustments fit together in an ordinary apartment, consider Maya, an illustrative renter watching an existing suction-cup feeder outside her shaded kitchen window. She places a checked spare phone into a heavy desktop stand on the counter, aims the main rear camera toward the feeder perch without touching the glass, switches off the overhead kitchen light, and records a 15-second test clip.
When Maya replays the saved file, she notices a pale smudge hovering directly over the seed tray—the reflection of a bright kitchen towel draped over a dining chair behind the counter. She moves the towel out of sight, leaves the window's exterior collision markings untouched, taps the screen to focus on the perch, and confirms on a second short clip that the glare has vanished. She starts a supervised four-minute recording from across the room while a finch lands, turns in profile, and lifts a hull. Replaying the file later, Maya pauses across three clear frames to compare the conical bill contour and pale wing bars, saves the trimmed clip with the date and a short feeding note, and puts the phone away, leaving the shaded window undisturbed as the bird returns to the perch.